Developing a blog Gatsby and Netlify
— coding & tutorials — 4 min read
Forewords
This post is a about developing a blog using GatsbyJS and Netlify (comparisons to others). The biggest downside is that there is no GUI for you to "just drag and drop" to create a website (you can with Netlify Drop but you still need to know a bit of HTML, CSS and Javascript).
Technically, a blog is all about speed and SEO, and these 2 headlines say it all:
Gatsby is a free and open source framework based on React that helps developers build blazing fast websites and apps
The fastest way to build the fastest sites. Build, test, and deploy globally with Netlify’s all-in-one platform for modern web projects
Gatsby leverages on ReactJS to give you tools to build, customize and optimize your website. Netlify gives you hosting, world-wide CDN, continuous deployments that live on forever, domain management and more, all for free!
Prerequisites
Make it run locally
- Choose a starter
npm install -g gatsby-cligatsby new [project-name] [starter-url](e.g. gatsby new my-awesome-blog https://github.com/thomaswangio/gatsby-personal-starter-blog)cd [project-name](e.g. cd my-awesome-blog)npm installgatsby develop- open
http://localhost:8000on your browser
If you see something rather than a blank screen, congrats!
Make it accessible online
First, push the code to the chosen git server (GitHub, GitLab or Bitbucket)
- Create a new repository
git initgit add .git commit -m "Initial commit"git remote add origin [git repository address](e.g. git remote add origin https://github.com/me/my-awesome-blog.git)git push origin master
Second, deploy the code to a domain with Netlify
- Open https://app.netlify.com/, login with your chosen git server
- Grant Netlify access to your git server
- Choose "New site from Git", follow the instructions and choose "Deploy site"
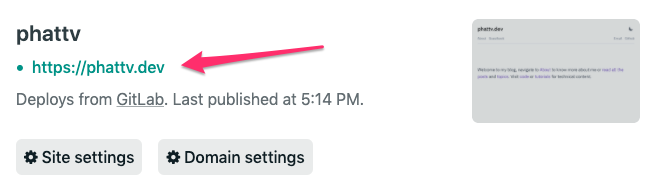
- Wait for the deployment to finish, click on the clink and check it outline
- Buy a domain, redirect all traffic to your netlify site.
- Share & Profit!
Next steps
If you are not a software developer, not to worry, it's a good time to learn coding. Learn about HTML, CSS, Javascript then forward to git and reactjs.
Start to look into the code, change a few lines and see the change on the browser. Understand the files you see in the code (ignore files under .cache, node_modules, public and static folders).
Start to write your first post, the syntax is called MDX which is a mix of Markdown (learn here, it's very simple!) and JSX syntax. You are totally fine without knowing JSX, just treat it as MD is fine (unless you want some customization). Every post is a separate file with frontmatter, which specifies title, URL (slug) and date of the post (you can add more). Here is a sample post format:
---title: My Awesome Postslug: my-awesome-postdate: 2020-31-12---
# Title 1
A few lines of description
Link: [Google](https://google.com)
Image: 
_italic text_
**bold text**
`code`
> quote text
- list item 1- list item 2
## Smaller title
### Even smaller titleRead Gatsby tutorials even though you don't need them right now, it'll be beneficial sometimes along the line.
Play around Netlify App to get to know more about what Netlify gives you.
Add Google Analytics with gatsby-plugin-google-analytics to gain insights about your site.
Customization
Make sure to browse plugins before you decide to add in your custom piece of code. Here's a simple expand and collapse component that i added:
import React from "react";import { clickableStyles } from "./constants";
class CollapseExpand extends React.Component { state = { isShowing: false, };
toggleIsShowing = (e) => { this.setState({ isShowing: !this.state.isShowing, }); };
render() { const isShowing = this.state.isShowing; return ( <div> <div onClick={this.toggleIsShowing} role="button" tabIndex={1} style={clickableStyles} > {this.props.text || `Click to ${isShowing ? "collapse" : "expand"}...`} </div> {isShowing && this.props.children} </div> ); }}
export default CollapseExpand;If you want to customize the look and feel of the chosen starter pack, read about shadowing. In short, the code in your repo will overwrite the original starter repo. For example, i use
gatsby-starter-minimal-blog starter, i need to add src/@lekoarts/gatsby-theme-minimal-blog/texts/bottom.mdx & src/@lekoarts/gatsby-theme-minimal-blog/texts/hero.mdx to change the home page texts that are above and below the posts.